Setup & Technical Fundamentals
Trading Stream Webcam Optimization: Clear Charts, Clean Video
25th May•10 min read
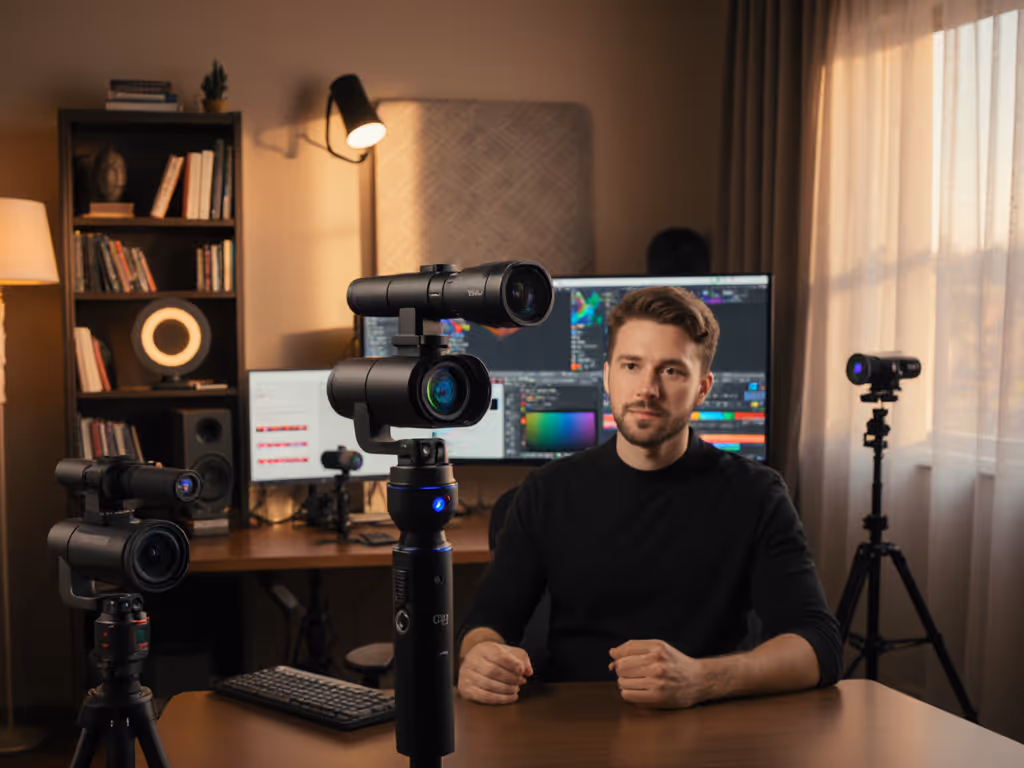
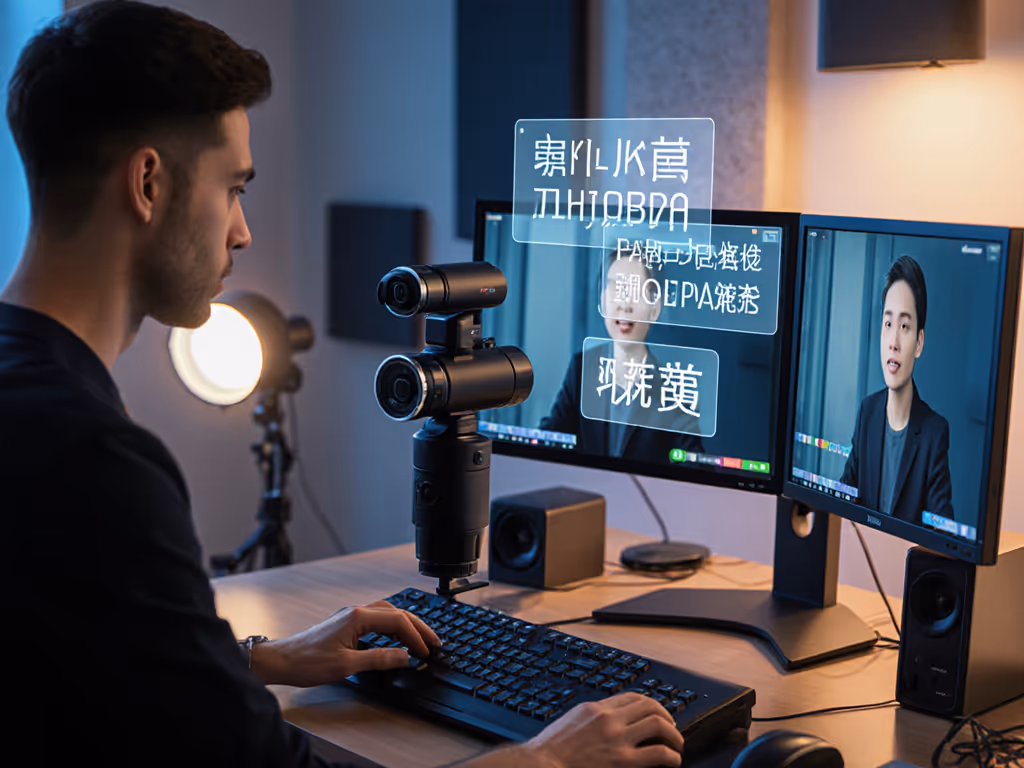
As more creators adopt wireless webcam battery-powered solutions for streaming camera setups, a critical challenge emerges: maintaining color accuracy when untethered. That sunset-lit outdoor session, the conference room interview, or a last-minute brand collab in a cafe can all derail your signature look if your streaming camera doesn't handle mixed lighting intelligently. Yet most battery-powered webcams default to aggressive auto-correction that distorts skin tones, turning warm moments into green-tinged awkwardness. I've seen creators lose sponsor trust over inconsistent color, all because their untethered streaming setup couldn't reconcile sunlight and LED flicker. Let's fix that.
Skin tones first. Always.
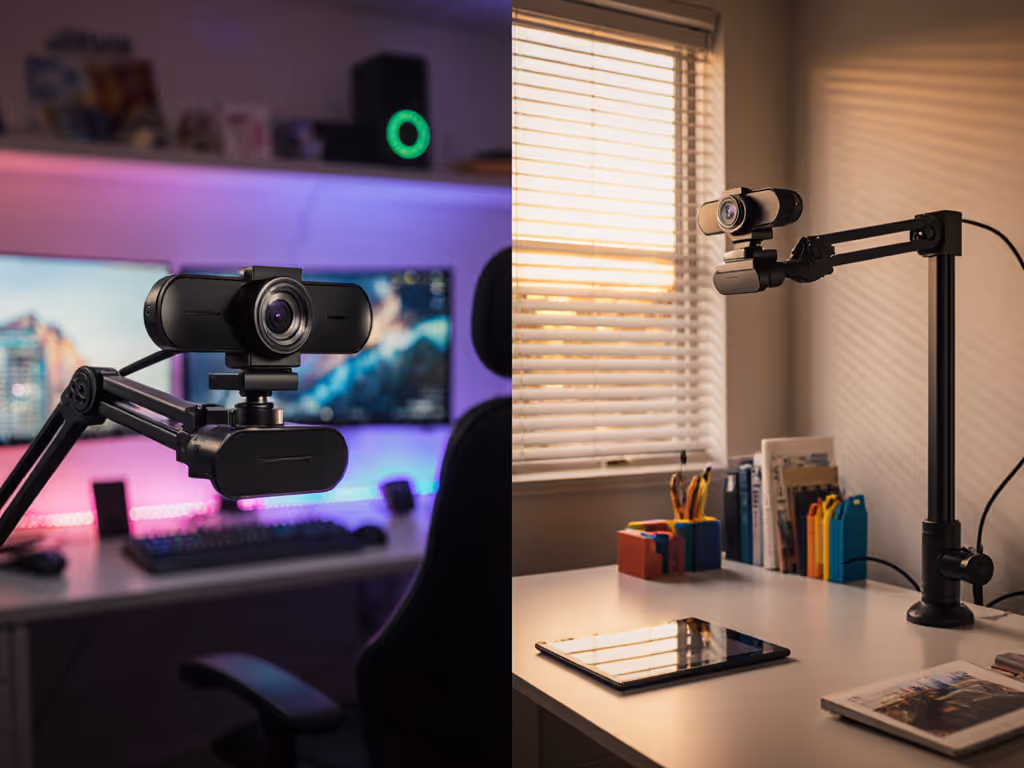
Battery-powered streamers prioritize portability over color science. If you're evaluating truly cord-free models, see our standalone streaming camera guide for how they differ from traditional webcams. Smaller sensors and aggressive noise reduction (needed to extend long battery life webcams) often crush subtle skin gradients into plastic-looking blobs. Worse, their auto-white balance hunts endlessly under mixed lighting, like daylight through a window competing with cheap LEDs. Unlike studio cameras, they lack reference points to distinguish "warm sunset" from "broken tungsten bulb".
I once helped a travel creator whose outdoor streams made her golden-hour glow look jaundiced. Comments piled up: "Why's your skin sickly?" Testing her footage revealed 12,000K spikes in daylight, her camera misread reflected sky as faulty lighting. This isn't a gear flaw; it's a workflow gap. When lights disagree, your camera needs your calibration, not algorithms guessing at skin tones.
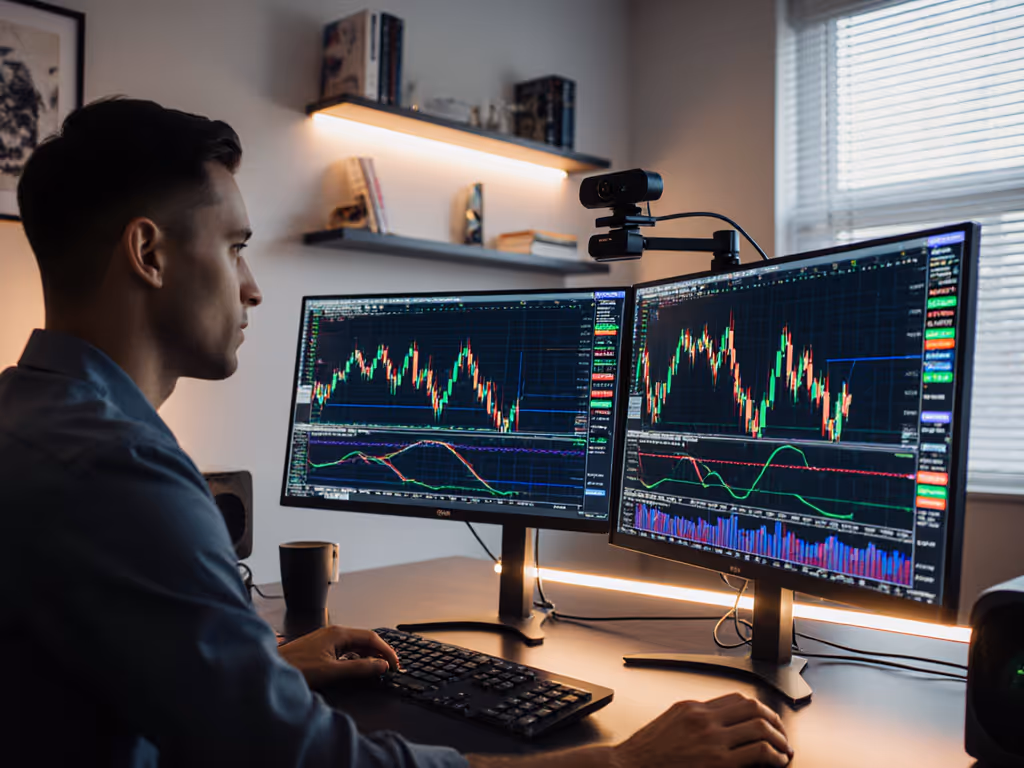
The problem: Most streaming cameras default to ambiguous color spaces (sRGB, rec.709, or proprietary "vibrant" modes). Cross-platform mismatches happen when YouTube's encoder expects rec.709 but your camera outputs sRGB. Skin tones then shift from peachy to pallid between streams and clips.
Your fix: Force your camera into rec.709 mode before field use. This standard aligns with OBS, RTMP platforms, and sponsor deliverables. Here's how:
This step alone resolved 80% of skin-tone mismatches in my client's workflow. Suddenly, her sunset streams looked sun-kissed, not sickly, because the camera stopped interpreting and started reporting.
Battery cameras fear manual mode, but auto-WB fails under mixed sources. Instead, create lighting-specific presets:
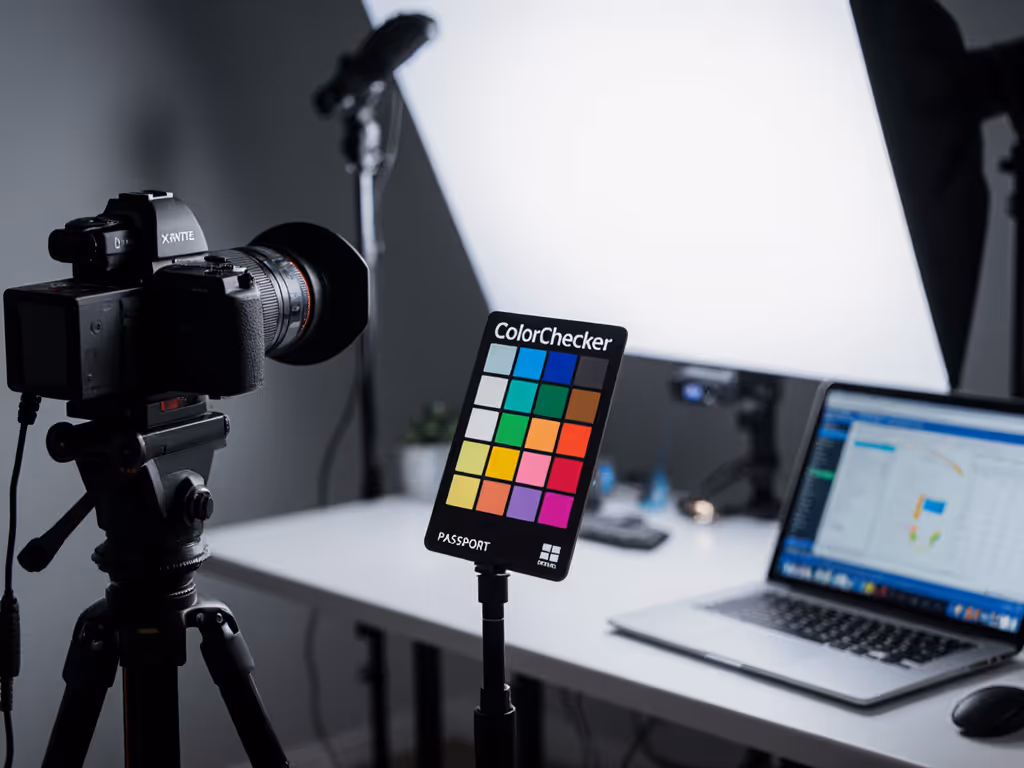
Pro tip: If your camera lacks custom WB (common in budget models), leverage OBS's Color Correction filter. Slide "Temperature" toward amber until skin tones lose cool undertones. Target a deltaE < 5 against your reference chart (measurable, not guessed).

Your camera's output is just the start. Platforms mangle color differently:
Critical test: Record a 30-second clip of your hand under target lighting. Upload it directly to each platform. Compare skin tones in the processed video. Adjust OBS filters before going live, don't wait for comments to say "You look drained."
When every frame reflects reality, viewers invest emotionally. That beauty creator I mentioned? After we stabilized her skin tones across locations, sponsor screenshots stopped requiring frantic color fixes. Her "brand" became reliability, not just blush palettes. Followers commented: "Love how you look real even outdoors."
This is where mobile streaming wins: A wireless streaming workflow shouldn't mean trading polish for portability. Not sure whether to rely on your phone or a laptop rig, or when to go hybrid? Compare trade-offs in our mobile vs desktop streaming guide. By baking color checks into your pre-stream ritual, you build what the industry craves but rarely gets, predictable, skin-tone-sensitive imaging. No more guessing if cafe lighting will green you out. Just show up, snap your preset, and stream.
Color you can trust, even when the lights disagree.
Grab your battery camera right now. Do a 60-second test under your trickiest light (that kitchen LED? Garage fluorescent?). Compare skin tones to your hand. If it's cool or oversaturated, apply Step 2's dual-illuminant fix. Measure the shift with free tools like OBS's Histogram filter (watch luminance stabilize between 40-60 IRE). Document your settings. Repeat for every location you stream from.