Virtual Production Webcam Color Calibration Guide
By Aisha Suleiman • 16th Jan

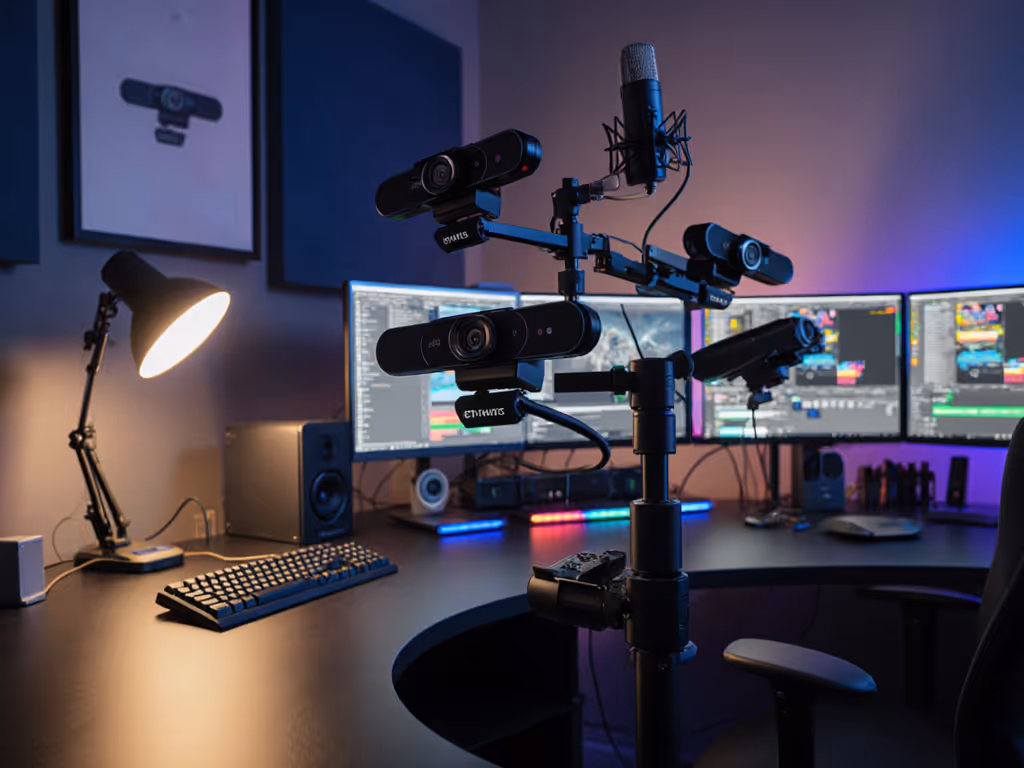
When your virtual production webcam setup delivers muddy greens or unnatural skin tones, viewers notice first. For creators relying on green screen streaming, inconsistent color isn't just technical, it erodes audience trust during live commerce, VTubing, or educational streams. I've seen creators lose sponsorships over months of unaddressed green casts under mixed LEDs. The fix? Skin tones first. In this guide, I'll translate cinema-grade calibration principles into actionable steps for your webcam workflow. Forget "AI-enhanced" claims, let's lock color you can trust, even when the lights disagree.
Why Webcam Color Drift Wrecks Your Virtual Production
Webcams struggle where pro cameras thrive: mixed lighting and LED flicker. Your bedroom LEDs might hit 50Hz, while sunlight pours through the window. Most webcams auto-adjust white balance 10x per second, causing pulsing shifts that break immersion. Worse, green screen streaming fails when skin tones drift into the chroma key range. I documented this with a creator whose "neutral" skin registered as 40% green channel under warm LEDs, no wonder her background bled onto her face!
This isn't about specs. It's about repeatability. Viewers subconsciously expect your brand's color signature, whether it's the warm glow of a beauty tutorial or the crisp neutrality of a tech review. When your OBS scene shifts from "calm professional" to "sickly filter," retention drops. Consistent color = consistent trust.
Step 1: Control Your Lighting (The 90% Fix)
Forget software tweaks until lighting is neutral. Green screen lighting setup requires even, diffused light to prevent shadows that confuse chroma key algorithms. Here's what works for desk setups:
- Two softboxes at 45°: Place one key light (5600K) at shoulder height, 3ft from you. Fill with a dimmer 4300K source to avoid harsh shadows. Why? Mixed temps cause auto-WB hunting, your top pain point.
- Kill ambient spill: Cover windows with black fabric. Turn off overhead LEDs during shoots. Test with a gray card: if it looks slightly blue under "daylight" bulbs, those are likely 6500K+ and will clash with warmer LEDs.
- Check for flicker: Film your lights with phone camera on 60fps. Rolling bars = frequency mismatch. Swap bulbs or force 30fps capture. For a deeper dive into controlling spill and even illumination, see our streaming lighting setup guide.
Pro tip: Hold your fist toward the light. If shadows have hard edges, diffuser fabric is needed. If soft, you're ready for calibration.
Step 2: Lock Manual White Balance (The Truth Anchor)
Auto-WB is your enemy—unless you're using auto white balance webcams that resist color shifts. Virtual background calibration starts with nailing color temperature. Do this every time lighting changes:
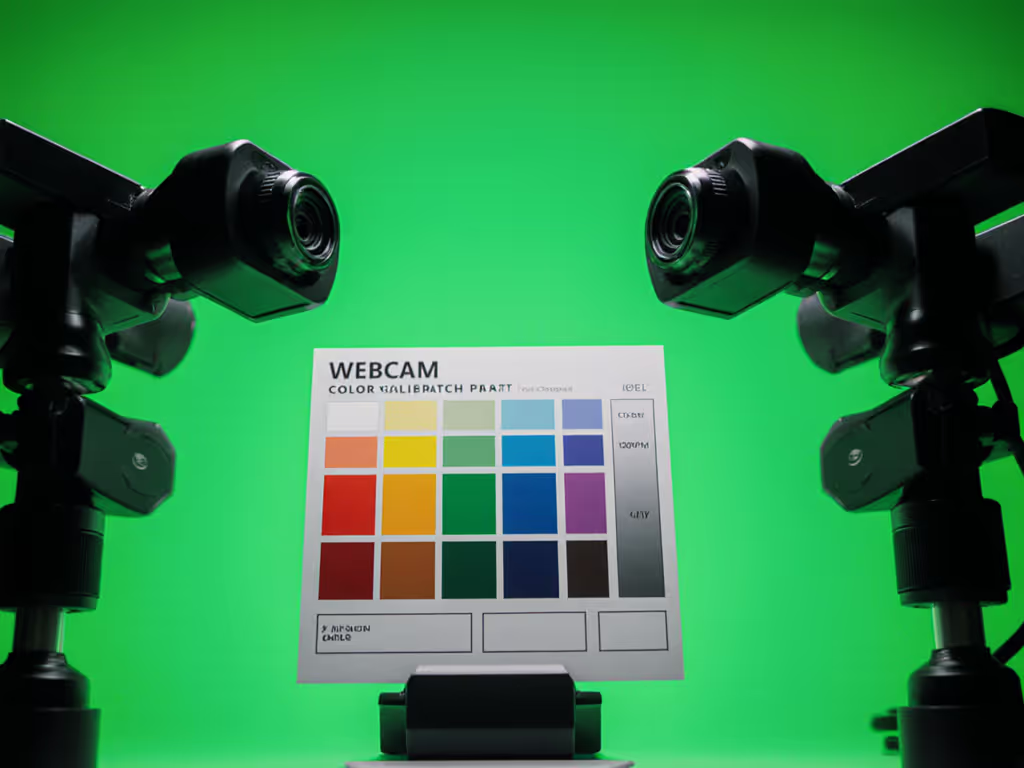
- Hold a gray card (not white!) 6" from your face, filling the frame.
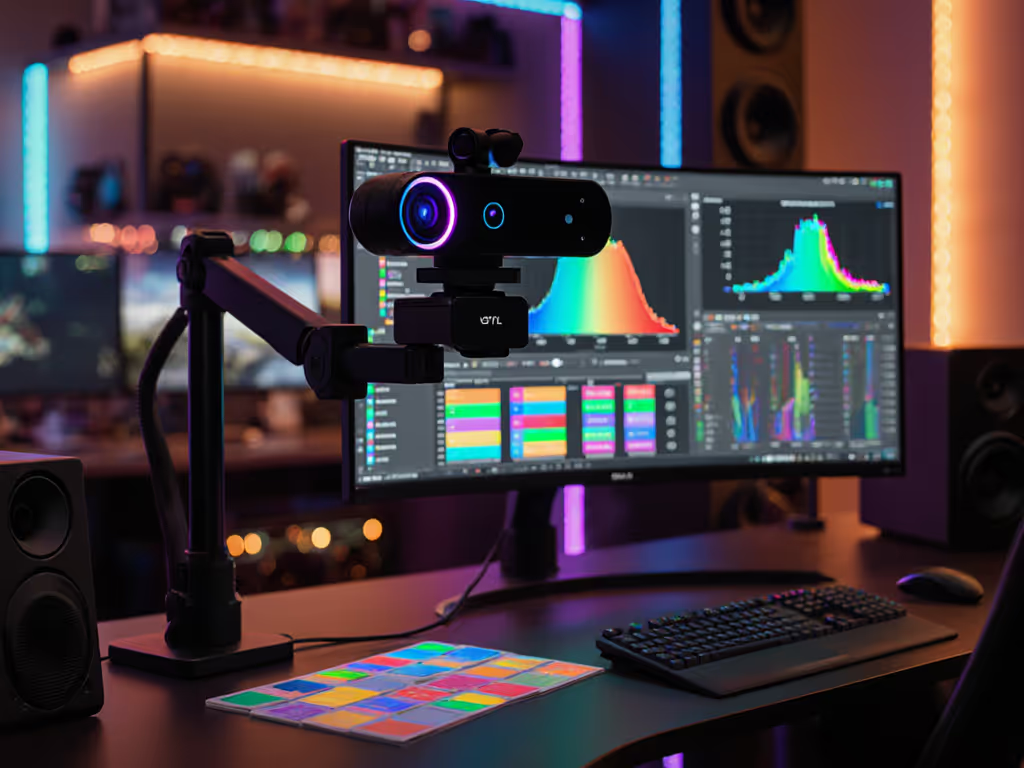
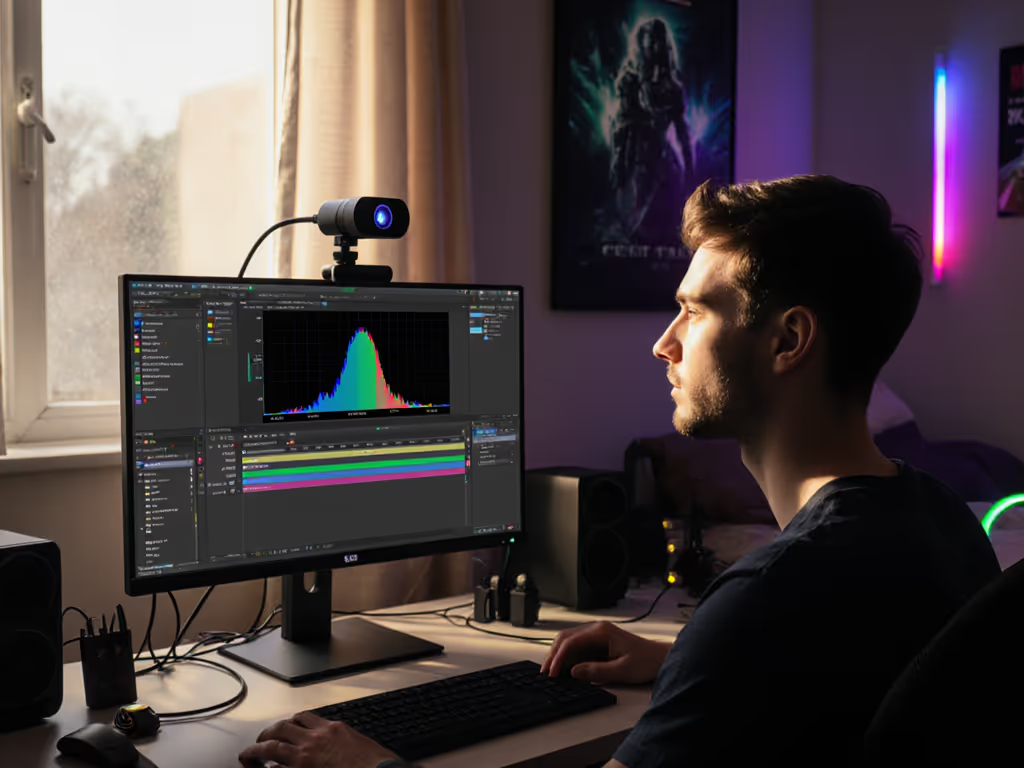
- In OBS, enable Settings > Video > Show Advanced. Click Configure Color Calibration.
- Set camera to manual mode. Disable "Auto Exposure" and "Auto White Balance."
- Adjust temperature sliders until RGB values read within 5 points (e.g., R:125, G:122, B:123).
This creates a dual-illuminant reference, mimicking how I calmed that creator's green cast. For mixed lighting, bias toward cooler temps (5000K-5600K); warmer tones bleed into green easily. Verify with skin: hold your hand up. If veins look purple, dial warmer. If gray, dial cooler.
Step 3: Crush Chroma Key Artifacts (No More Green Halos)
Chroma key optimization fails when color spills onto subjects. If you're debating green screen versus software backgrounds, compare results in our AI background removal guide. After lighting/WB fixes:
- Reduce "Similarity" in OBS's chroma key: Start at 85, lower until green edges clean up (but not below 75).
- Boost "Blend" slightly: 15-20% smooths jagged edges caused by webcam noise.
- Add spill suppression: Set to 15-25%. Higher values flatten skin tones, test while moving your head.
Critical: Enable "Depth Key" if using a second camera for close-ups. Webcam depth perception affects edge quality. Frame yourself closer to the green screen? Spill worsens. Farther? Backgrounds look artificial. Optimal is 6-8ft from screen. Measure it!
Step 4: Build Your Unbreakable LUT (The Reset Button)
Documenting your settings is non-negotiable. To speed recovery and consistency, follow our OBS webcam configuration profiles walkthrough. When a stream crashes or OBS corrupts:
- Export OBS color calibration as
.lutfile. - Save camera settings as a preset (e.g., "Workshop_Mode") via manufacturer software.
- Photograph your lighting setup: Note bulb types, distances, and gray card readings.
I helped a Twitch fitness creator rebuild her look in 8 minutes after a laptop failure, because we'd saved her 5600K lighting + 5200K WB combo. No more "Why do I look jaundiced today?"
Why This Works: The Skin Tone Science
Webcams oversimplify color science. Cinema cameras capture 10-bit color; most webcams use 8-bit with heavy noise reduction that smears skin textures. But skin-tone sensitivity matters more than bits. Human eyes detect shifts in 600-700nm wavelengths (reds/oranges) precisely where green spill corrupts.
By locking WB manually, you constrain color shifts to deltaE < 5, the threshold where changes become visible but not distracting. If color precision is mission-critical for your content, see our lab tests on true color webcams for near studio-grade accuracy. My test: Feed calibrated webcam output into a vectorscope. Skin tones should cluster in the "flesh line" quadrant (between RY and YG). Drifting into GY? Your green screen is fighting you.
Final Checks Before Go-Live
Before hitting "Start Streaming":
- Test motion: Shake your head side-to-side. Do green edges shimmer? Lower OBS chroma key "Similarity."
- Check skin consistency: Record 60 seconds under mixed light. Playback should show zero temperature shifts.
- Verify cross-platform: Screenshot your stream in Discord. Does skin match your pre-recorded promos?
This isn't about perfection, it's about predictability. When your color stays stable through lighting chaos, viewers feel seen, not processed. That's how you turn casual viewers into community.
Go Deeper: Your Next Calibration Challenge
Mastered this? Level up with multi-camera matching. Next time, we'll decode why your DSLR and webcam never agree on skin tones, and how to force harmony. Until then: Skin tones first, everything else follows. Your brand's trust depends on it.
Related Articles
Setup & Technical Fundamentals
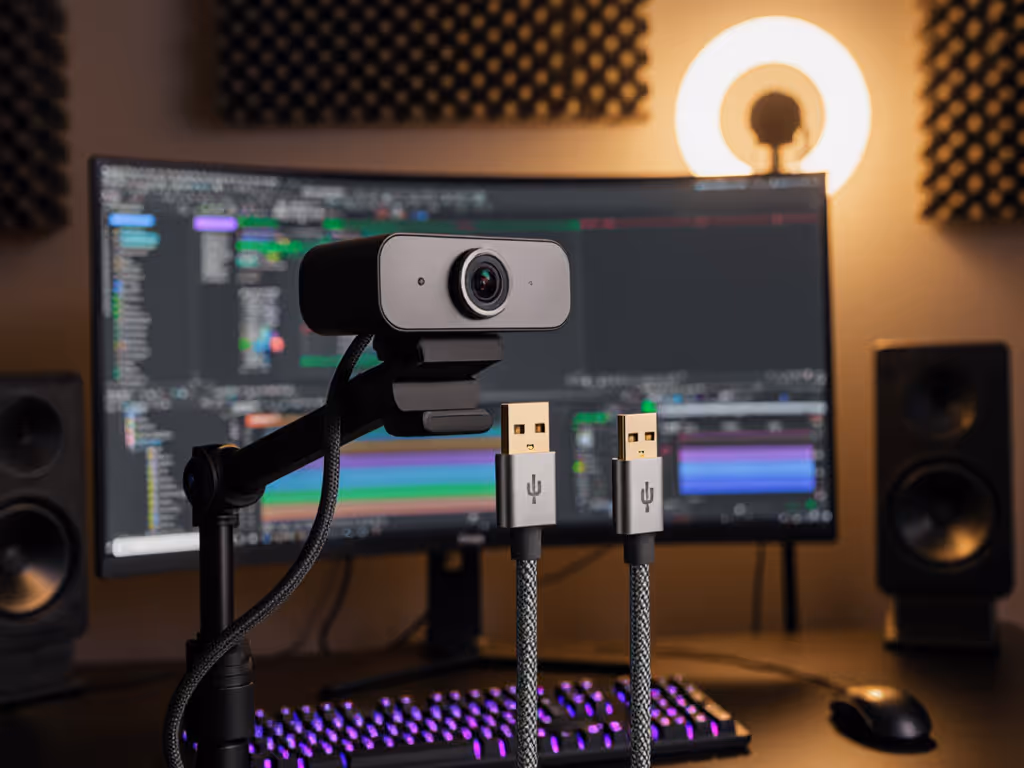
Why Webcam USB Cables Impact Your Streaming Quality
3rd Mar•10 min read